Adding a Before/After map to your website or blog
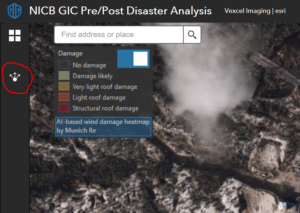
Many GIC members will add our imagery to their online maps and GIS systems using a feed to add a layer. This provides maximum flexibility of presentation, layout and utility. But there are cases where you want to get an interactive map on your website quickly, especially at times of crisis such as hurricane aftermath. Here, a simple embed can go a long way. This technique can also be used by ANYONE outside of the GIC to quickly get a map on their website or blog. The embedded map features address search, layer control and the amazing before/after slider.
Here are the steps to have a map on your website in 2 minutes.
Start by getting the map set the way you want it to appear on your site. Visit our public mapping site then pan and zoom to set the initial map view you want to embed.
Once your map is set, click the share button (highlighted below) to display the sharing options.
Copy the embed code and paste it into your website. You can adjust the size of the map to fit your layout.

<iframe width="1080" height="720" frameborder="0" scrolling="no" allowfullscreen src="https://maps.geointel.org/app/gic-public/?extent=-9510609.2029%2C3496941.6358%2C-9508878.6208%2C3497917.4023%2C102100"></iframe>
that’s it! you have a simple but feature rich map on your website in under two minutes. As always, reach out to support@geointel.org with any questions.